User Guide
Everything you need to build, deploy, and manage your AI assistants — step by step.
Integrating Your Agent
Embed your AI chatbot on your website in minutes.
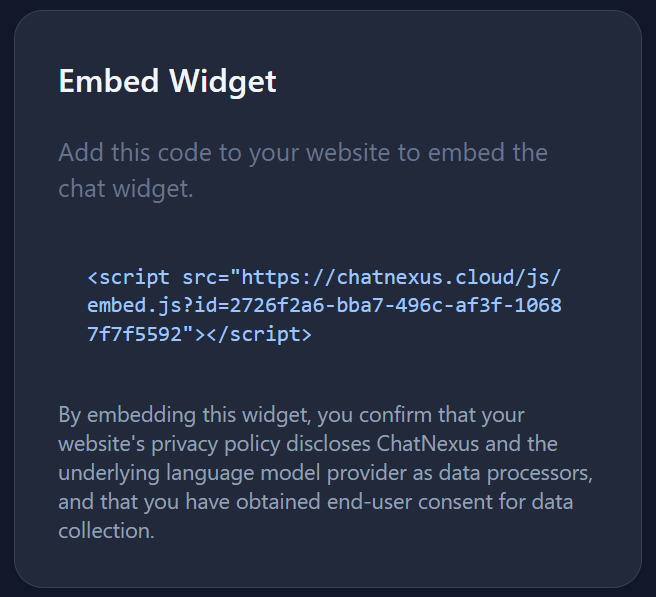
Get the Embed Code
Go to your agent's detail page. In the Embed Widget section on the right, you'll find a script tag ready to copy:
<script src="https://chatnexus.cloud/js/embed.js?id=YOUR_AGENT_UUID"></script>
Hover over the code block and click Copy to copy it to your clipboard.
Add to Your Website
Paste the embed script into your website's HTML - typically just before the closing
</body> tag.
The script automatically injects a floating chat widget into the page.
<html>
<body>
    <!-- Your website content -->

    <script src="https://chatnexus.cloud/js/embed.js?id=YOUR_AGENT_UUID"></script>
</body>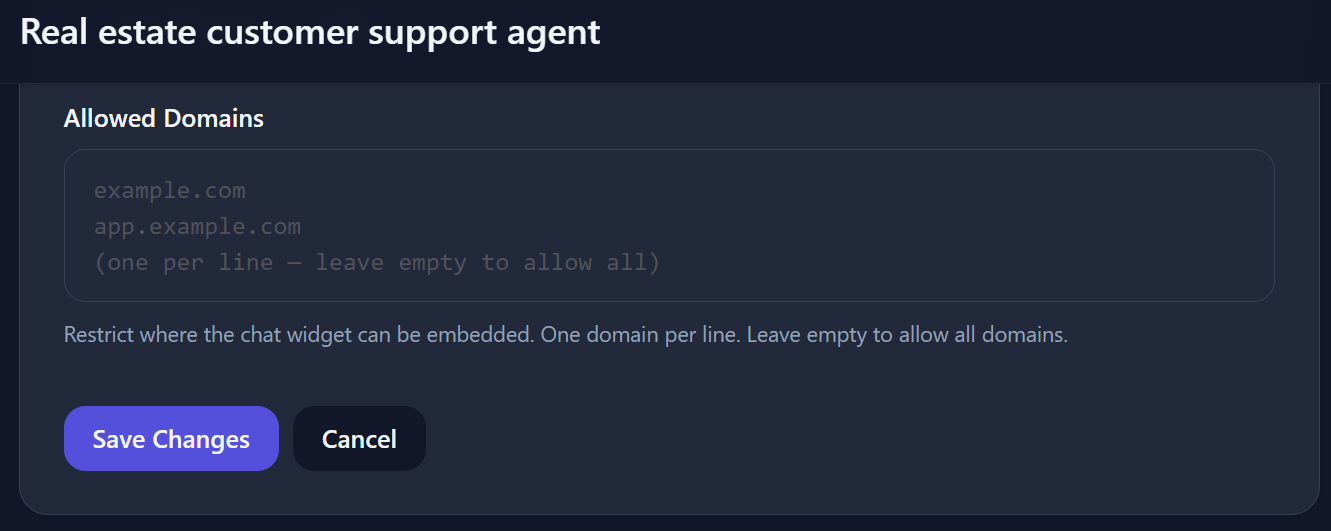
</html>Whitelist Your Domain
For security, the chat widget only works on whitelisted domains. On the agent detail page, find the Allowed Domains field and add each domain where you'll embed the widget (one per line):
API Endpoint (Advanced)
In addition to the embed widget, your agent exposes a REST API - a direct way to talk to your agent programmatically, without any pre-built chat interface.
Widget vs. API - which should you use?
Embed Widget (script tag)
- ✔ Ready-made floating chat button
- ✔ No coding required - paste & done
- ✔ ChatNexus handles the UI for you
- ✘ Fixed look and feel
REST API
- ✔ Full control over your own custom UI
- ✔ Works in mobile apps, backends, dashboards
- ✔ Automate workflows without a human present
- ✘ Requires developer knowledge
Use the API when you want to build your own chat interface inside your product, send automated messages from your backend, or integrate the agent into a mobile app - anywhere the embed script can't go.
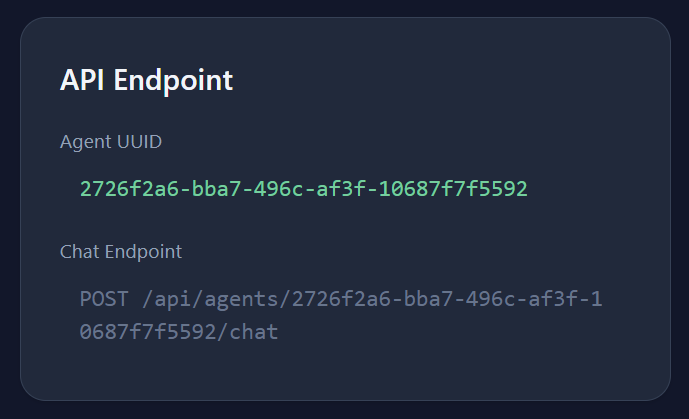
Your endpoint details
You'll find these values in the API Endpoint section on your agent's detail page:
Example: sending a message via JavaScript
Here's how to call your agent from any webpage or JavaScript application:
fetch('https://chatnexus.cloud/api/agents/YOUR_AGENT_UUID/chat', {
  method: 'POST',
  headers: { 'Content-Type': 'application/json' },
  body: JSON.stringify({ message: 'Hello, what can you help me with?' })
})
  .then(res => res.json())
  .then(data => console.log(data.reply));
The API responds with a JSON object containing your agent's reply, which you can display however you like in your own interface.
Branding Control
Depending on your plan:
Preview the Widget
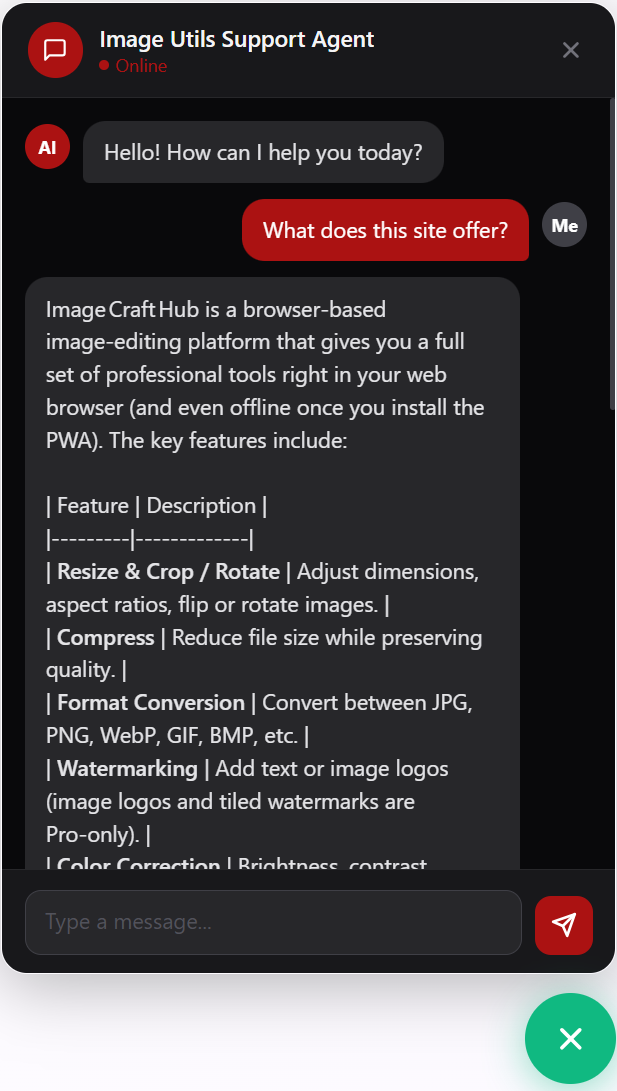
After embedding, visit your website to see the chat widget in action. It should appear as a floating chat button that expands into a chat panel when clicked.