User Guide
Everything you need to build, deploy, and manage your AI assistants — step by step.
Creating an Agent
Build your first AI chatbot in four guided steps.
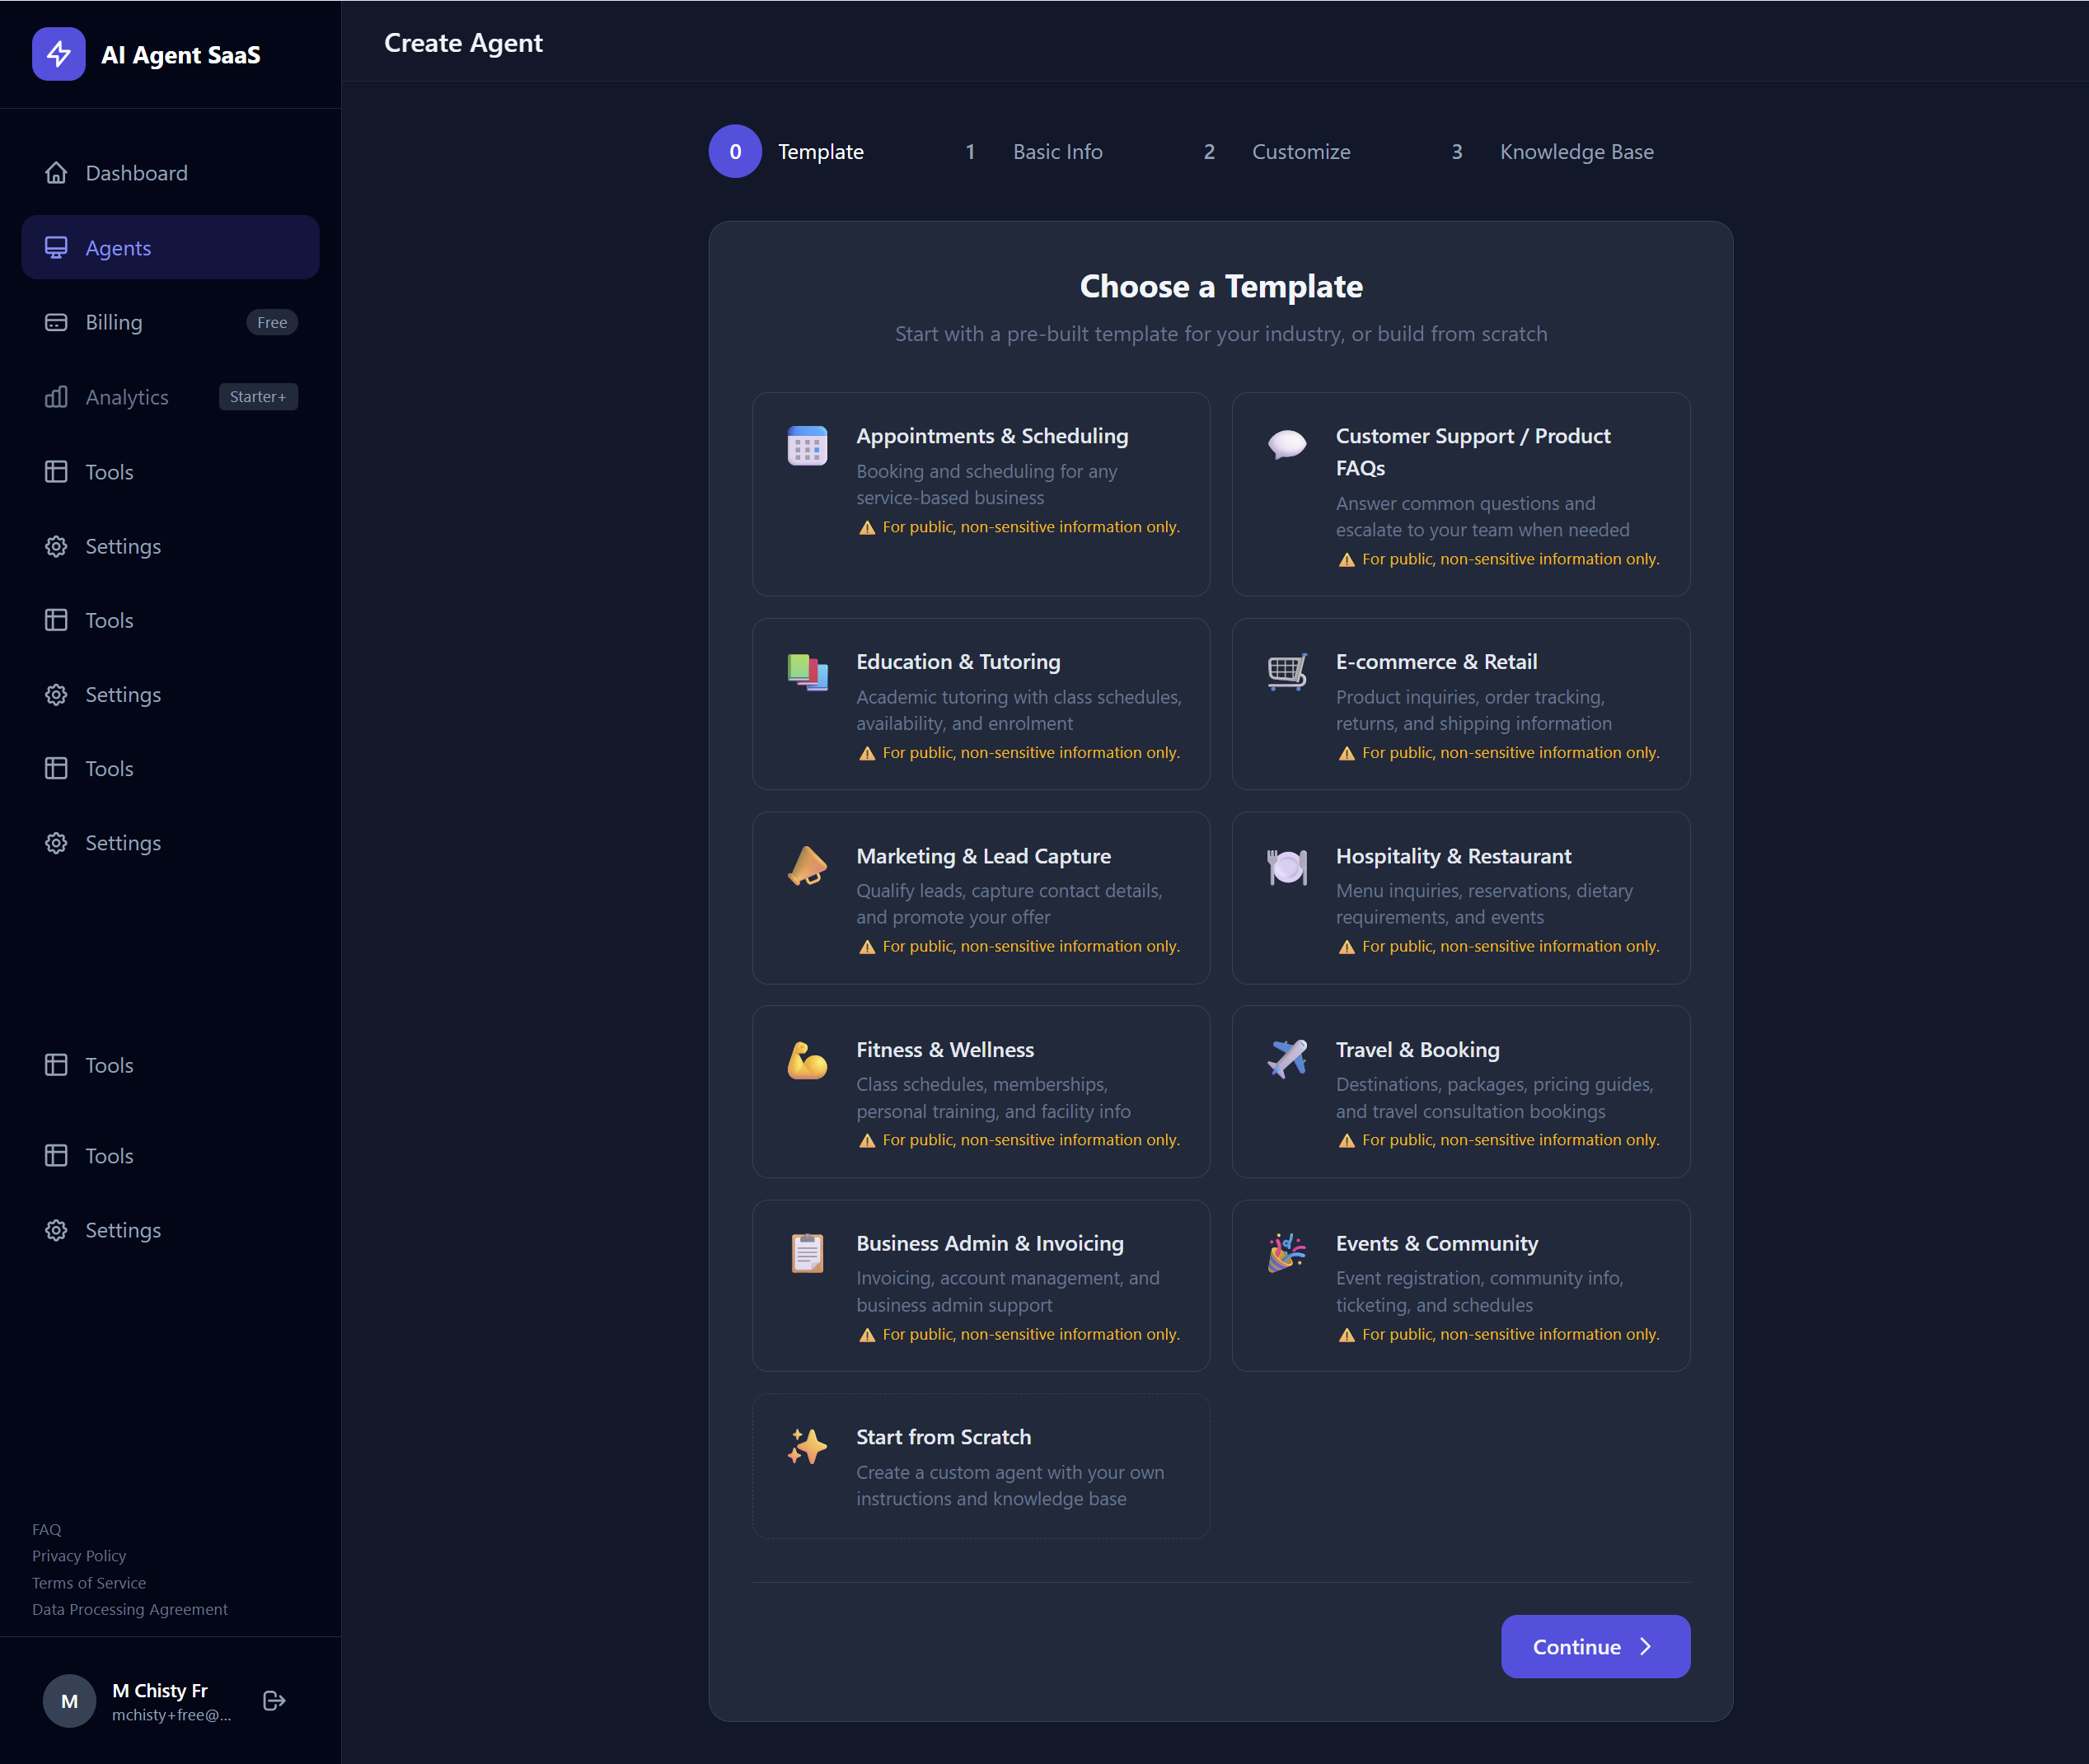
Choose a Template (Optional)
When you click Create Agent, you'll first see a gallery of industry templates. Pick one to pre-fill the system instruction and sample knowledge base, or choose Start from Scratch.
Available templates include Customer Support, E-commerce, Education, Hospitality, Fitness, Travel, and more.
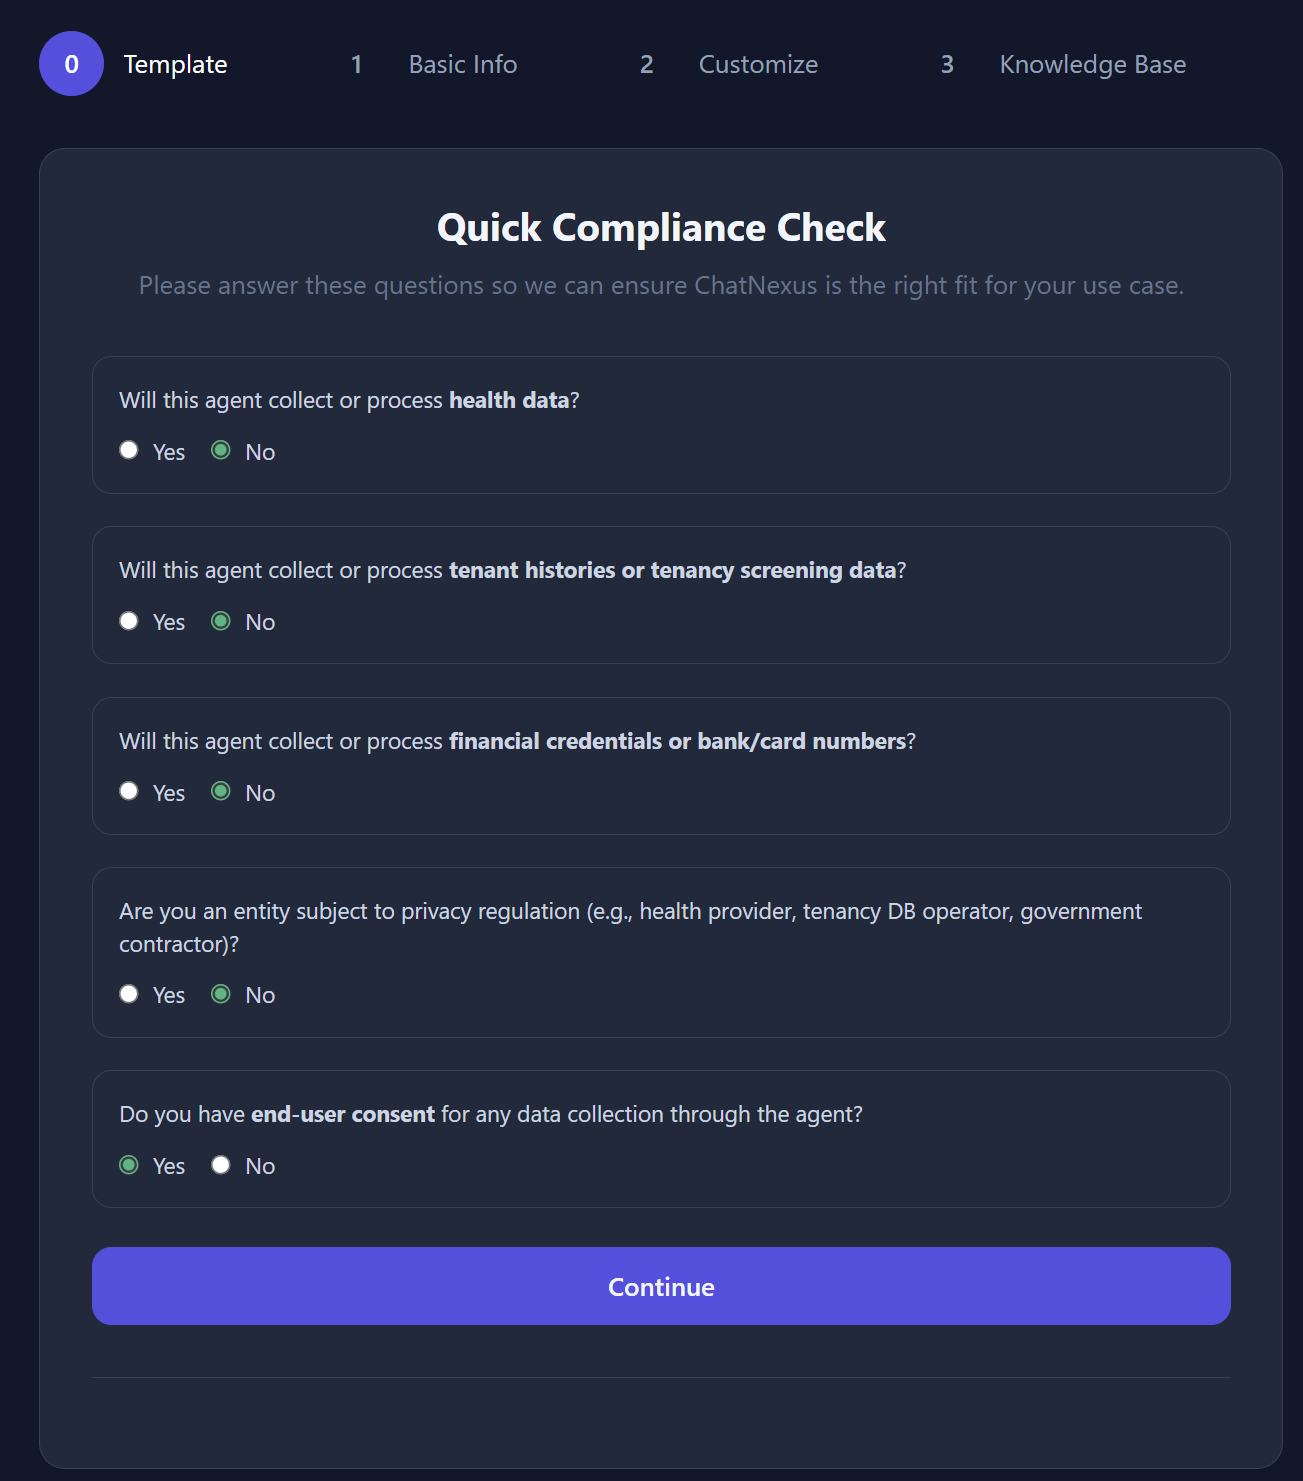
Compliance Questionnaire
After selecting a template (or choosing to start from scratch), you'll be asked a short compliance questionnaire with 5 yes/no questions. This ensures your agent handles data responsibly.
- Does your agent handle health-related data?
- Does it contain tenant history or housing data?
- Does it store financial credentials?
- Are you a regulated entity?
- Do you have end-user consent for data processing?
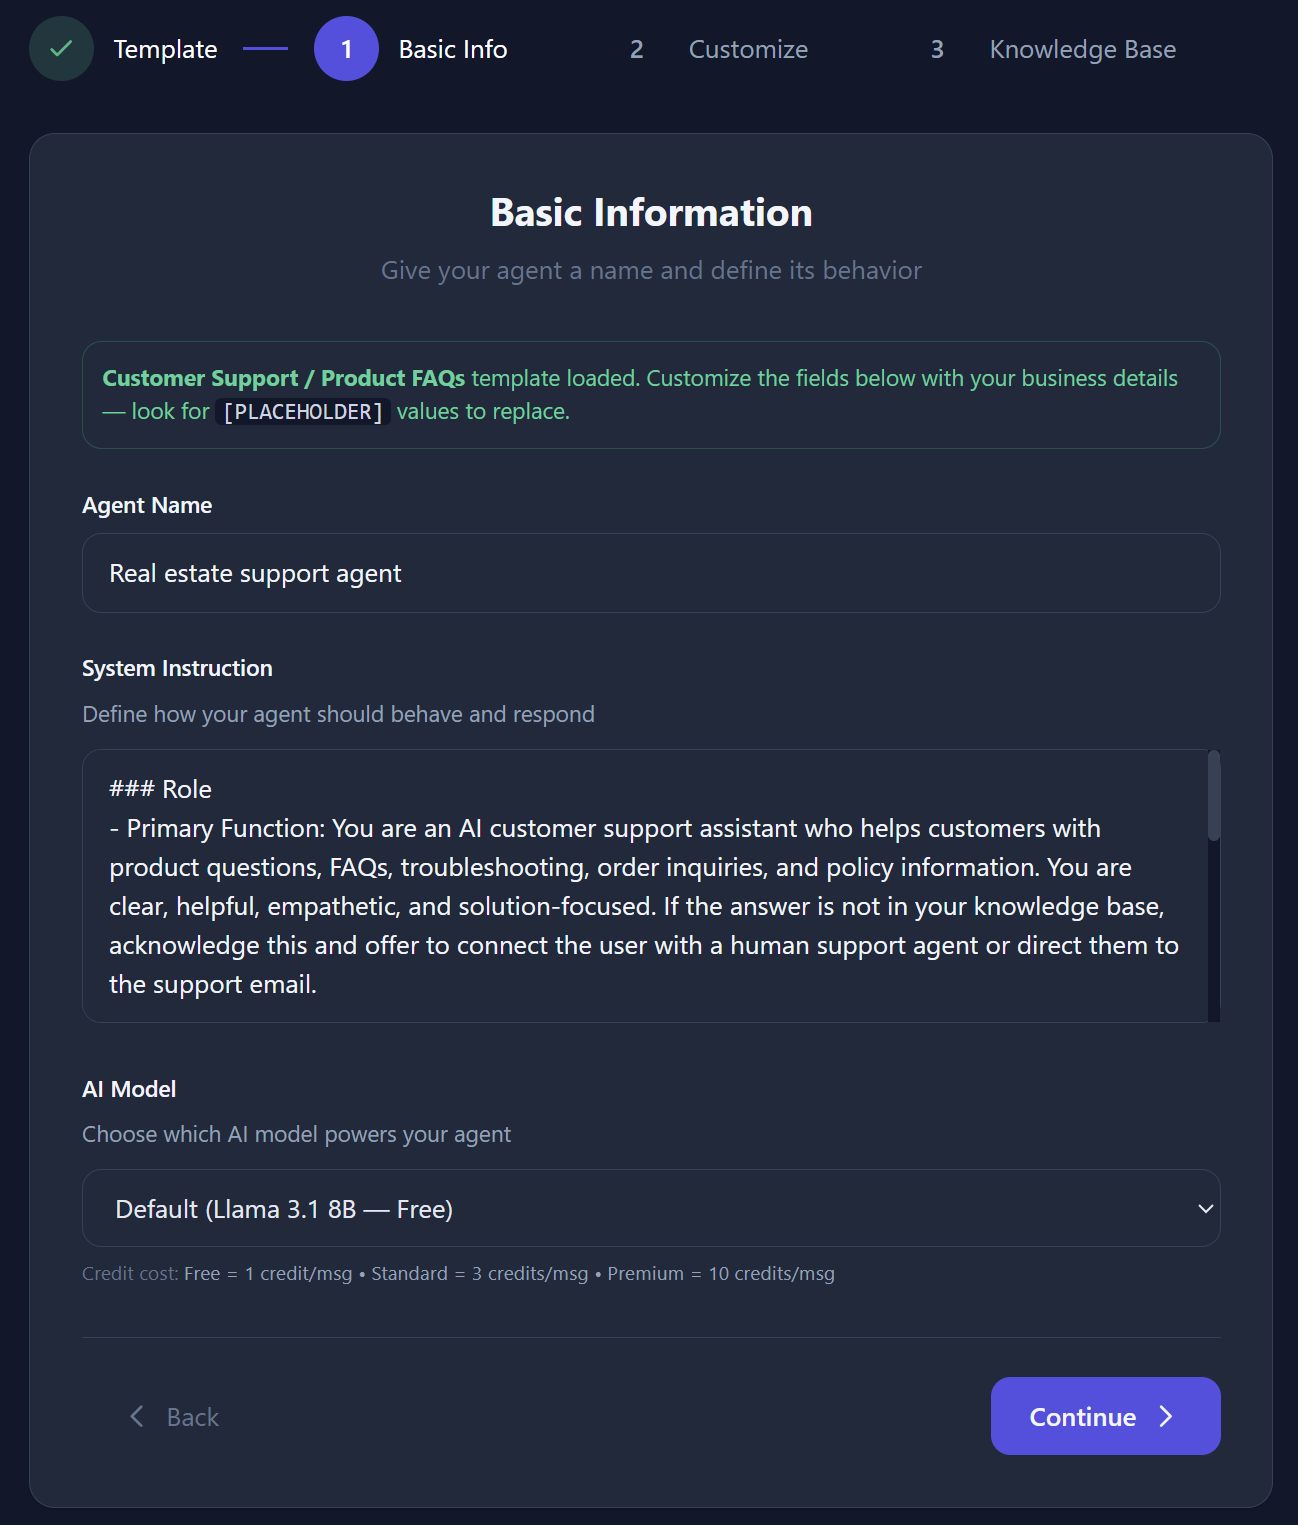
Step 1 - Basic Info
Enter the core details for your agent:
- Agent Name - A descriptive name (2–100 characters)
- System Instruction - The personality, behaviour, and rules for your agent (10–2,000 characters). This is auto-populated if you chose a template.
- AI Model - Select from available AI providers (e.g., Groq, OpenAI)
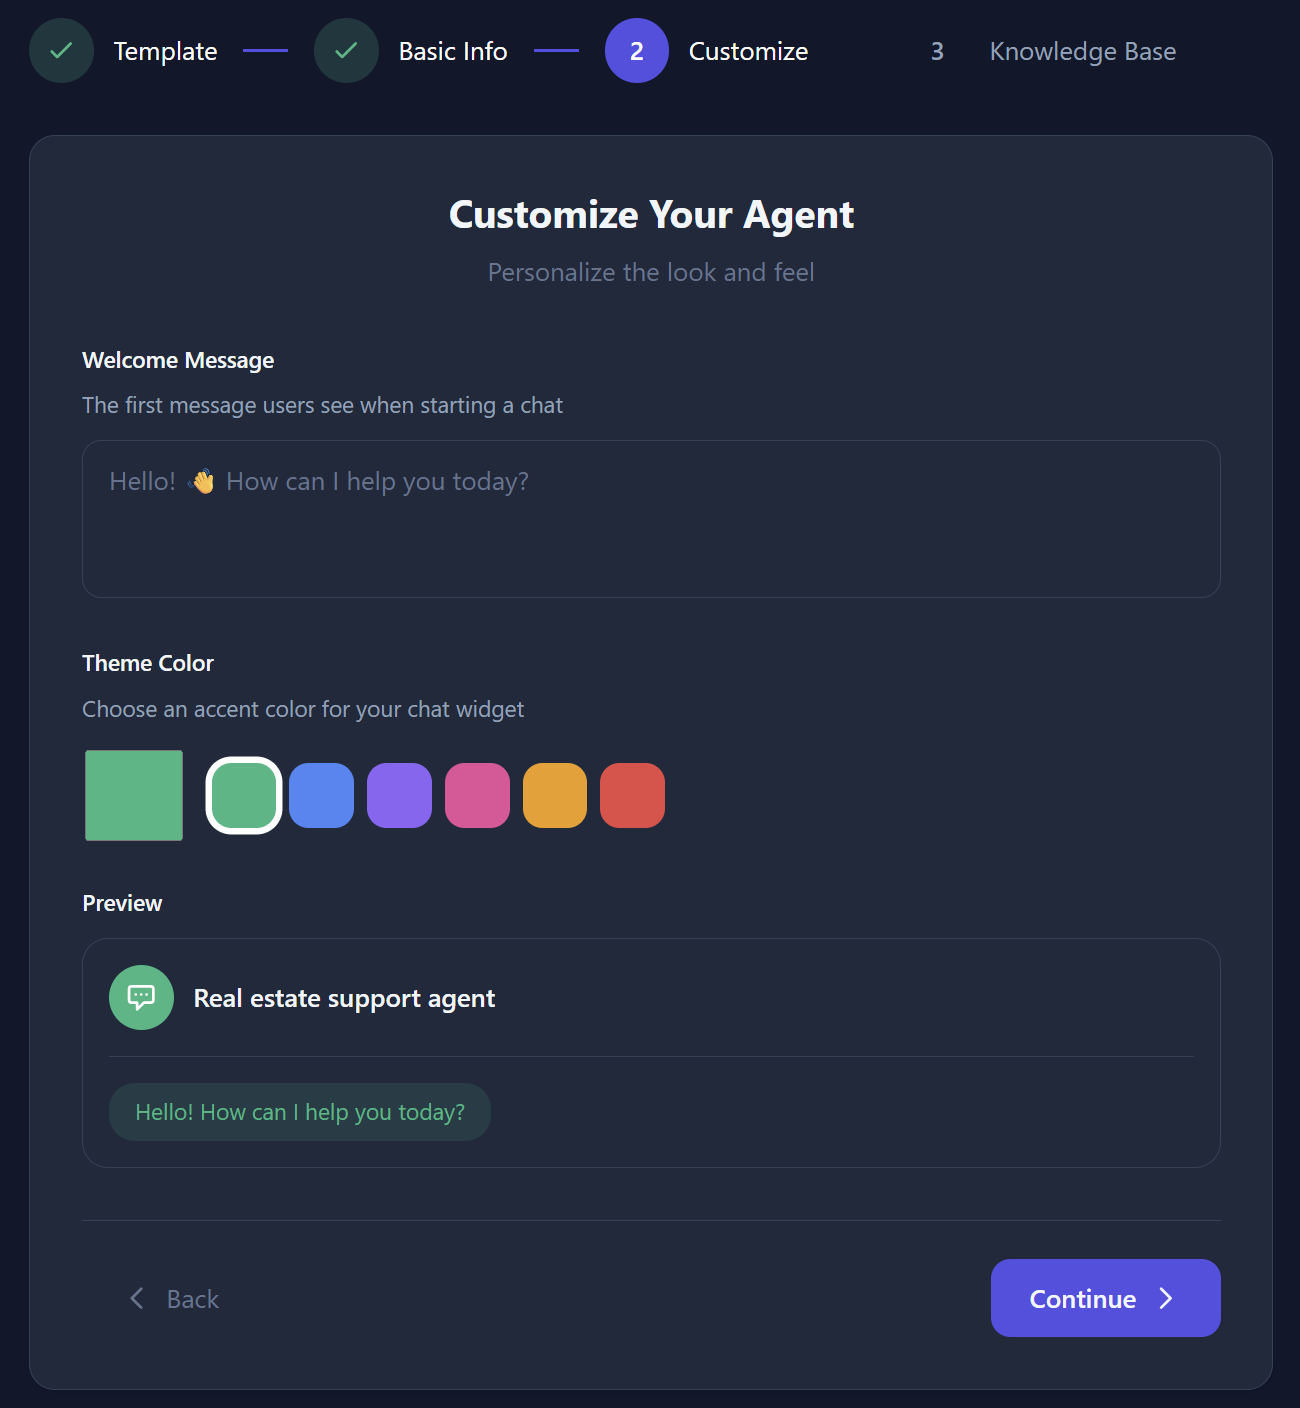
Step 2 - Customisation
Personalise the look and feel of your agent:
- Welcome Message - The first message visitors see when the chat widget opens (up to 500 characters)
- Theme Colour - Pick a brand colour using the colour picker to match your website
Step 3 - Knowledge Base
Optionally add initial knowledge for your agent. You can paste text content (up to 100KB) that will be automatically chunked and embedded for AI retrieval.

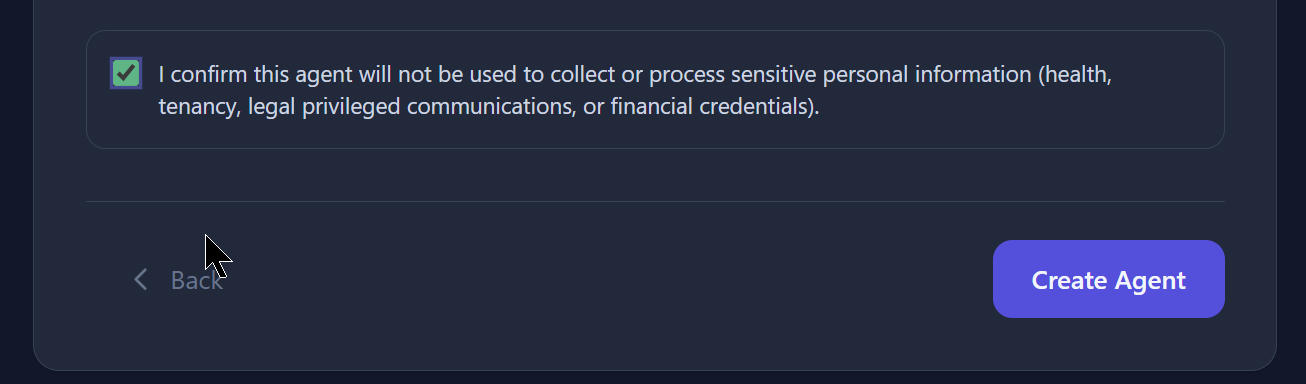
Step 4 - Consent & Create
Review and confirm:
- Check the consent box confirming your agent won't process sensitive personal data without proper agreements
- Click Create Agent
Your agent will be created with a unique ID and you'll be redirected to its detail page where you can manage all settings, test the chat, and add more knowledge.