ChatNexus User Guide
Everything you need to build, deploy, and manage your ChatNexus AI assistants — step by step.
Getting Started
Create your account and get set up in minutes.
Create Your Account
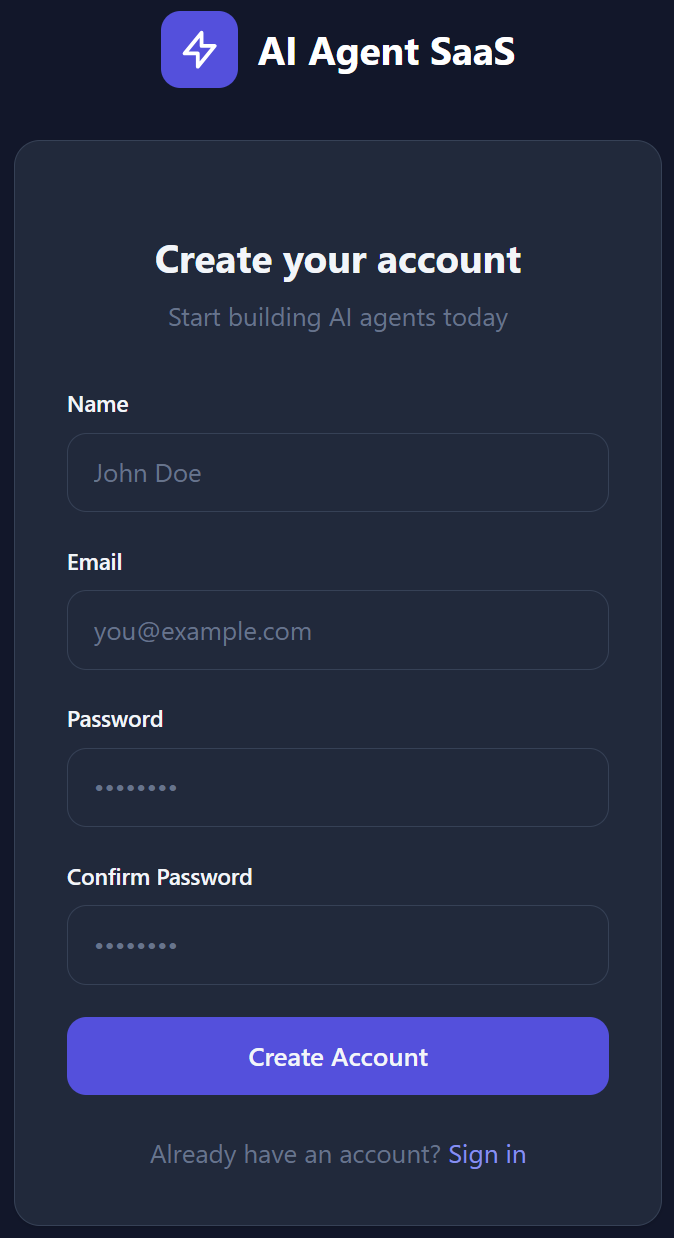
Visit the ChatNexus homepage and click Get Started in the top navigation bar. You'll be taken to the registration page where you can use Sign up with Google (or Facebook / X when those options are available), or continue with email.
If you choose email signup, fill in the following details:
- Name - Your display name (2–100 characters)
- Email - Must be unique and valid
- Password - Minimum 8 characters with uppercase, lowercase, and a number
Verify Your Email
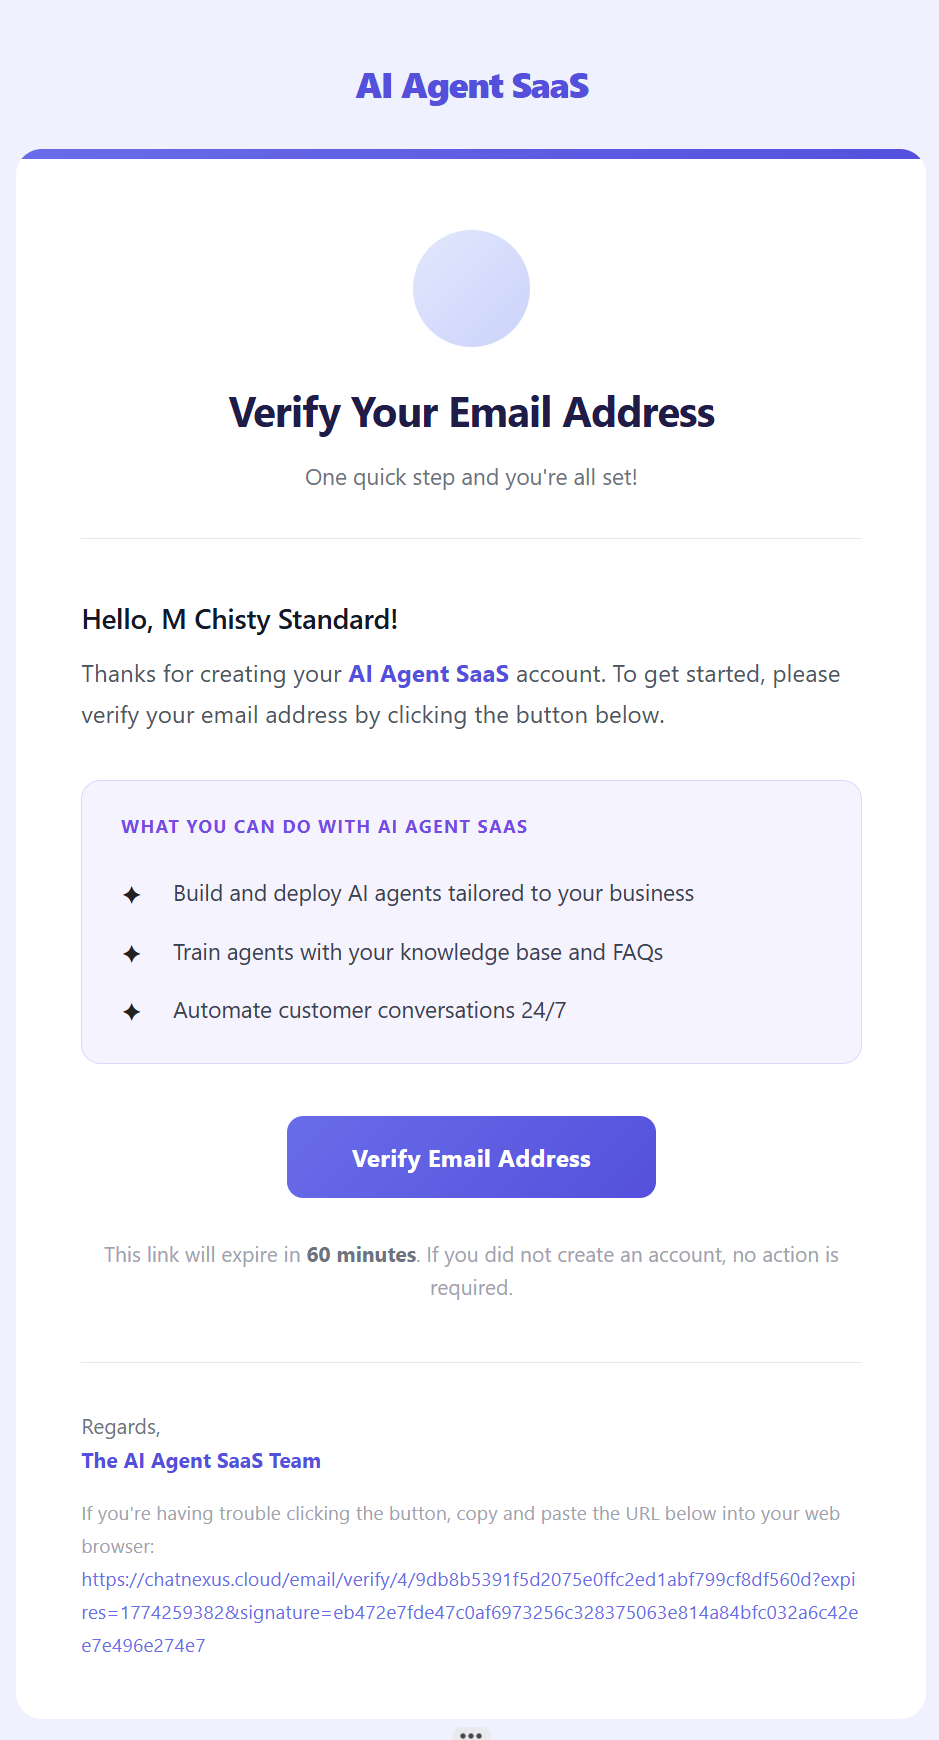
If you sign up with email + password, you'll receive a verification email. Click the link in the email to verify your account. If you use Google (or another social signup), your email is verified automatically and this step is skipped.
Log In
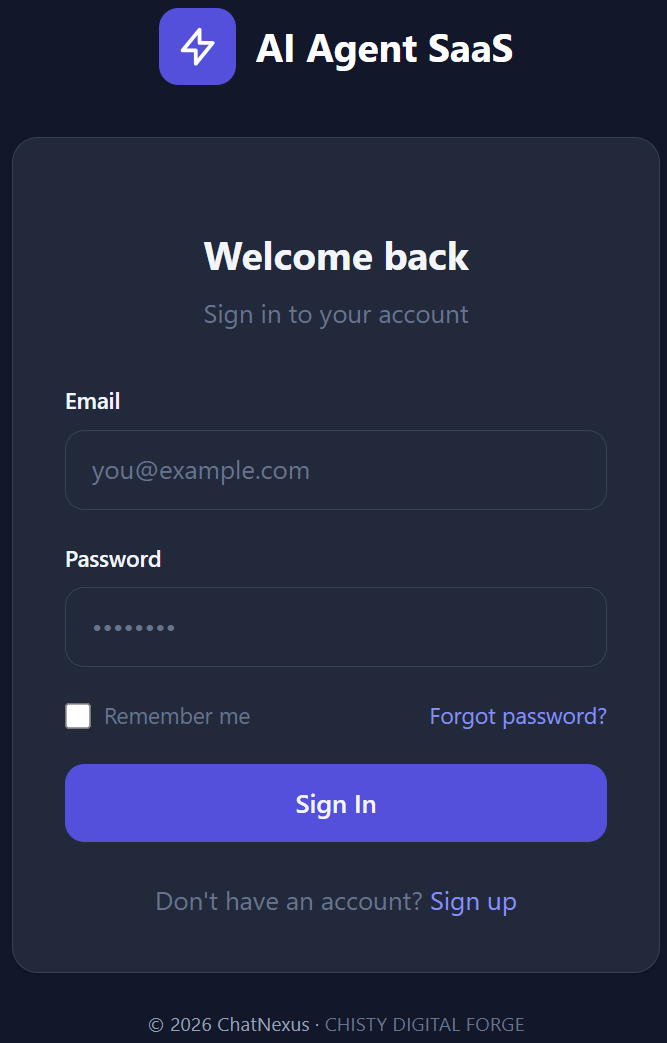
On the login page, use Sign in with Google (or Facebook / X when available) for one-click access, or enter your email and password. Check "Remember me" to stay signed in across sessions.
Try Free AI Tools
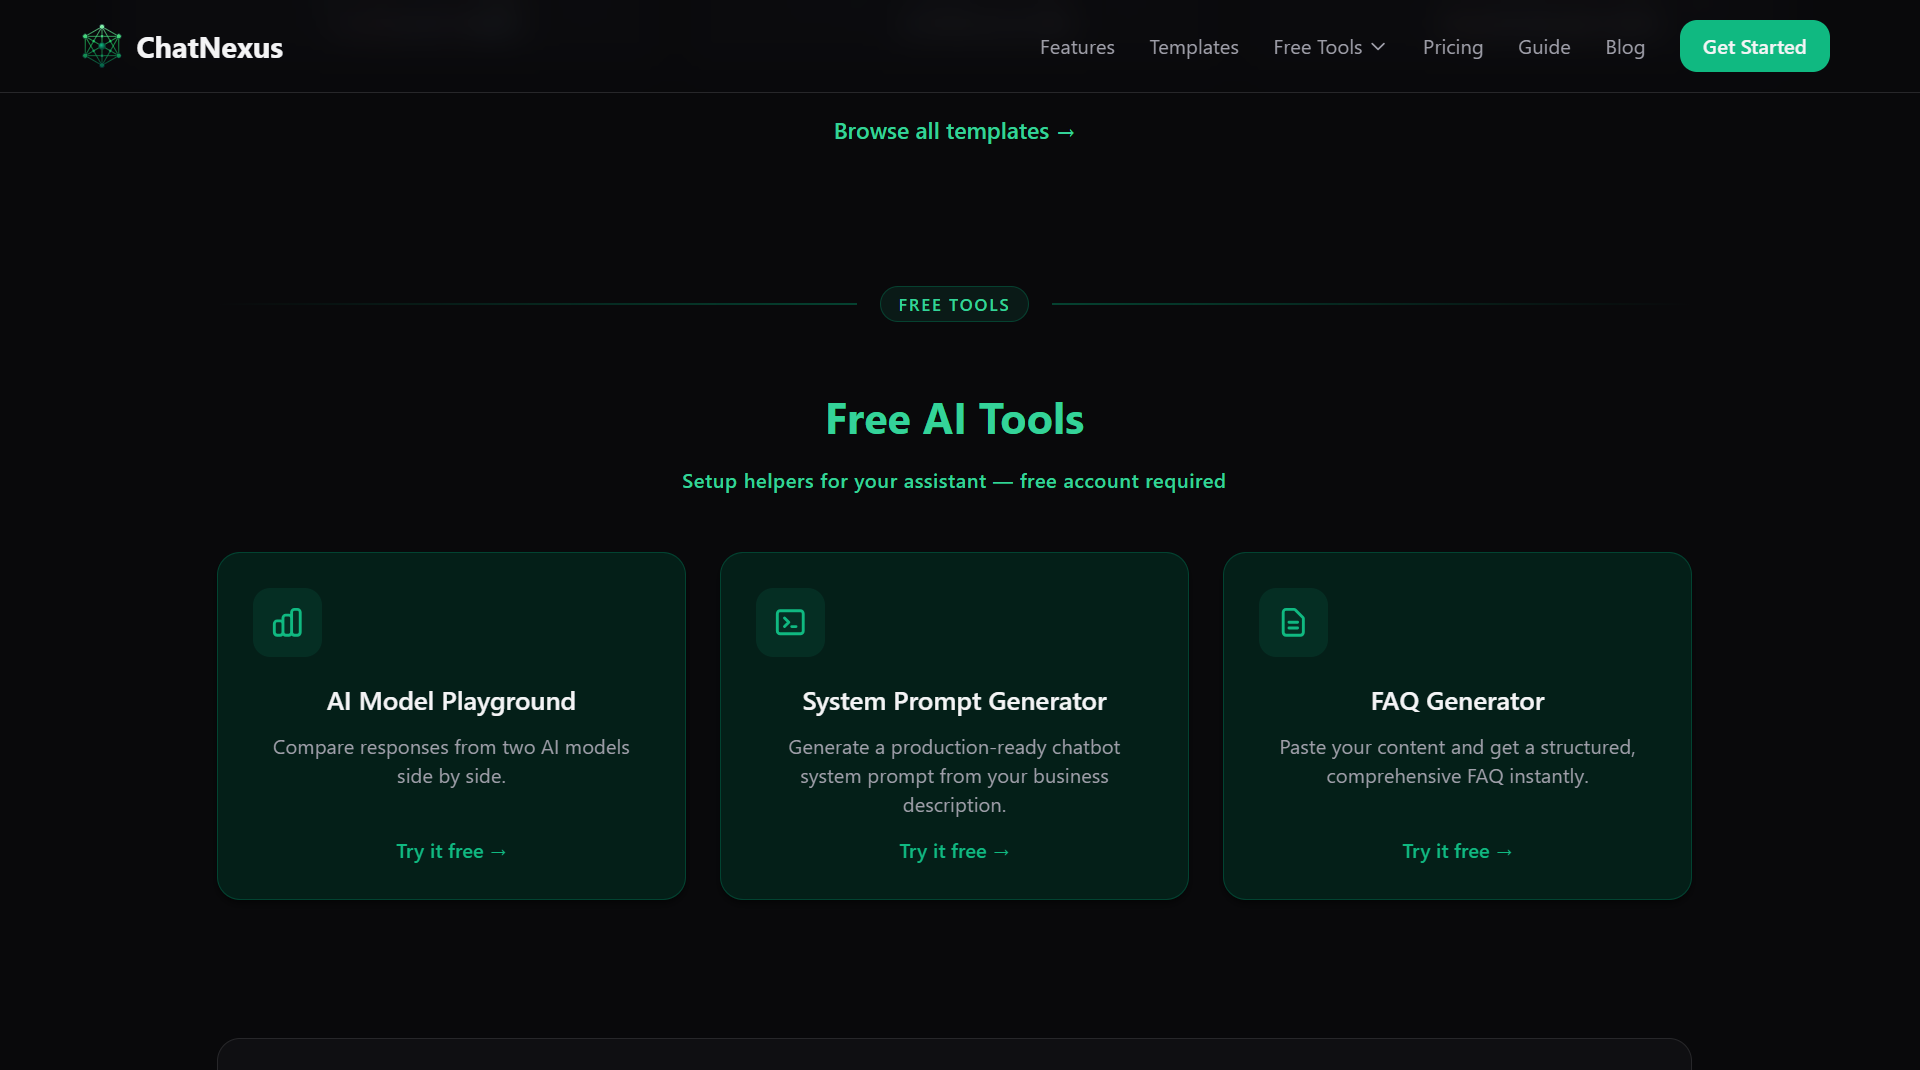
From the site navigation, open Free Tools (or visit /tools after signing in). These setup helpers are included with any ChatNexus account and do not deduct your agent credit pool:
- AI Model Playground - Compare responses from two AI models side by side
- System Prompt Generator - Generate a production-ready chatbot system prompt from your business description
- FAQ Generator - Paste your content and get a structured FAQ instantly
Your Settings
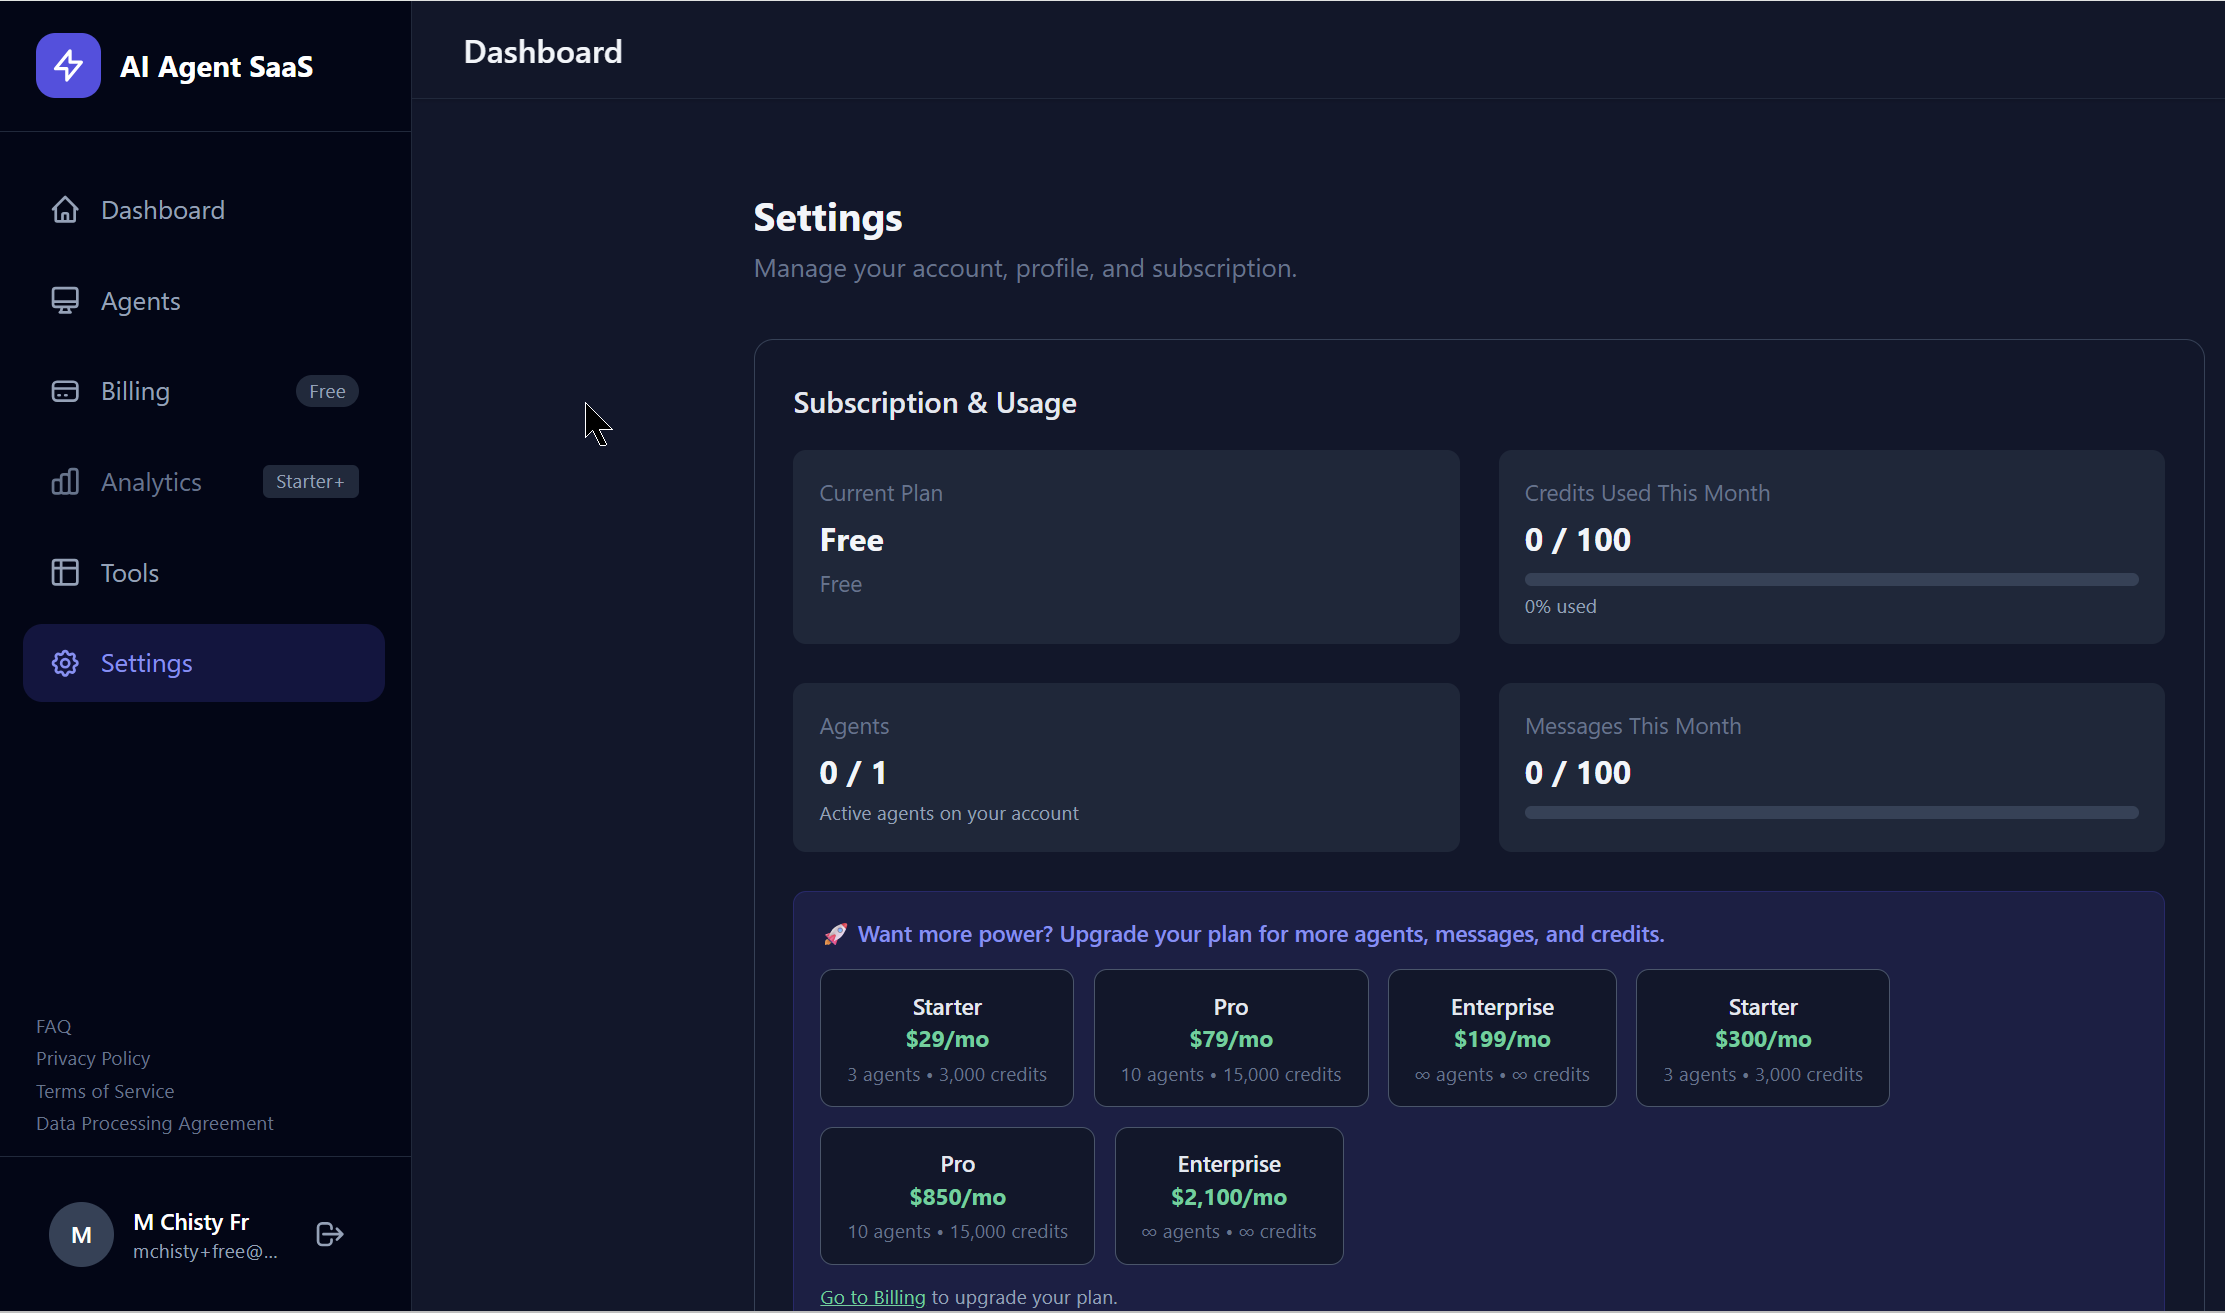
From the dashboard, navigate to Settings to update your profile. Here you can:
- Update your name and email address
- Change your password (requires your current password)
- View your current plan and this month’s messages and credits used
- Control optional extra AI usage and your monthly spending limit (paid plans)
- See your next billing date or free-access expiry
New to messages and credits? Read the Usage & Billing guide.