Why WordPress Sites Need an AI Chatbot
Most WordPress sites answer the same questions over and over: opening hours, pricing, how to book, where to find a specific page. Each of those interactions costs time — yours or your team's. An embedded AI chatbot handles them instantly, around the clock, without any ongoing effort once it's set up.
Unlike a generic live-chat widget, a ChatNexus agent is trained on your content — your FAQs, product descriptions, service policies, or whatever knowledge you feed it. It answers in your voice, with your information, not generic filler.
What You'll Need
- A WordPress site (self-hosted, WordPress.com Business plan or above)
- A free ChatNexus account
- Admin access to your WordPress dashboard
That's it. The plugin is free. The ChatNexus Free plan includes one agent and 300 messages per month — enough to get started and see the value before you decide to scale.
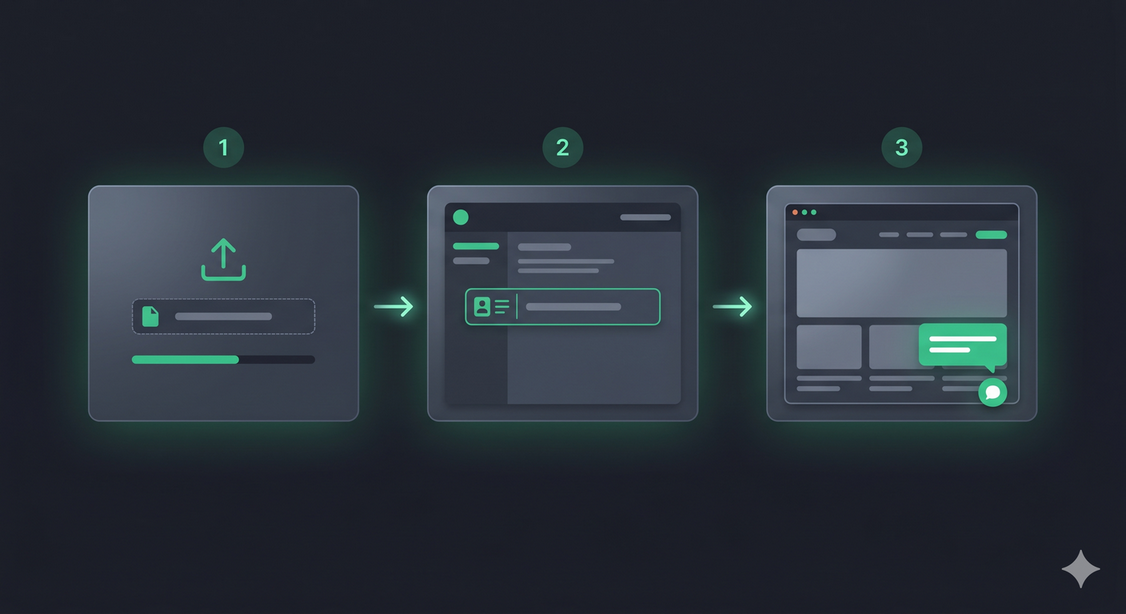
Step 1 — Create and Train Your Agent on ChatNexus
Before installing the plugin, you need an agent to connect to. Log in to chatnexus.cloud and create a new agent. You can start from a template (there are 20+ industry templates covering e-commerce, healthcare, SaaS, legal, hospitality, and more) or build from scratch.
Once your agent is created, add your knowledge base content:
- Paste your FAQ text directly
- Drop in a URL to crawl your existing website content
- Upload a PDF (product catalogue, pricing sheet, service guide)
- Connect a Google Doc for automatic sync when the document changes
Test the agent using the built-in chat preview. When it's answering correctly,
go to Agent Settings → Embed and copy your Agent ID
— it's a UUID that looks like xxxxxxxx-xxxx-xxxx-xxxx-xxxxxxxxxxxx.
Step 2 — Install the ChatNexus Plugin
In your WordPress admin dashboard, navigate to Plugins → Add New Plugin → Upload Plugin. Download the plugin zip from chatnexus.cloud/integrations/wordpress and upload it. Click Install Now, then Activate.
Alternatively, if ChatNexus is listed in the WordPress Plugin Directory, you can search for "ChatNexus" directly from Plugins → Add New Plugin and install in one click.
Step 3 — Paste Your Agent ID and Go Live
After activation, go to Settings → ChatNexus in your WordPress dashboard. You'll see three fields:
- Agent ID — paste the UUID you copied in Step 1
- Widget Position — choose bottom-right (default) or bottom-left
- Auto-inject Widget — enabled by default, adds the widget to every page automatically
Click Save Settings. Use the Test Connection button to verify the plugin can reach your agent. If successful, visit the front end of your site — the chat bubble is already there.
[chatnexus_chat] to any post, page, or widget area
where you want it to appear. You can even use a different agent per page:
[chatnexus_chat agent="your-other-agent-uuid"]
Security: Lock the Widget to Your Domain
Your embed code is public — anyone could technically copy it and use your agent on their own site. To prevent this, go back to your agent settings on ChatNexus and add your WordPress domain to the Allowed Domains list. For example:
yourcompany.com
www.yourcompany.com
Once set, requests from any other origin are rejected server-side before any AI processing occurs — protecting both your credits and your brand. See Domain Whitelisting: The Security Step Most Chatbot Platforms Skip for a deeper explanation.
Works With All Major Page Builders
The ChatNexus plugin is compatible with every major WordPress page builder because it loads a single asynchronous script tag in the footer — it doesn't interact with the block editor or theme structure at all.
| Page Builder / Theme | Auto-inject | Shortcode |
|---|---|---|
| Elementor | ✓ Works | ✓ Shortcode widget |
| Divi | ✓ Works | ✓ Text module |
| Gutenberg (Block Editor) | ✓ Works | ✓ Shortcode block |
| WPBakery | ✓ Works | ✓ Shortcode element |
| Classic Theme (no builder) | ✓ Works | ✓ Widget area |
Does It Slow Down My Site?
No. The plugin injects a single script tag with the async attribute,
meaning it loads completely independently of your page content. It will not block
rendering, affect your Largest Contentful Paint (LCP), or impact Core Web Vitals scores.
The widget iframe only initialises when a user interacts with the chat bubble.
Common Questions
Is it GDPR-compliant?
ChatNexus does not collect personal data without user consent. Conversation data is processed under the terms set out in the ChatNexus Privacy Policy. If you record chat sessions, you may need to update your cookie notice. For enterprise deployments requiring a formal Data Processing Agreement, see Why Your AI Chatbot Needs a DPA.
Can I customise the widget's colour to match my theme?
Yes. The widget's accent colour, name, and avatar are all configured in the ChatNexus dashboard — not in the plugin. Changes you make there reflect on your WordPress site immediately without touching the plugin settings.
What happens if I reach the Free plan message limit?
The chat widget will inform users that the agent is temporarily unavailable. Upgrading to a paid plan restores access immediately. You can upgrade at any time from the ChatNexus Billing page.
The gap between "I want a chatbot" and "the chatbot is live on my site" used to be measured in weeks. With a WordPress plugin and a pre-trained agent, it's measured in minutes.
Add AI Chat to Your WordPress Site
Free plan includes one agent and 300 messages/month. Install the plugin and go live in minutes.
Get Started Free →